
run cPanel, through the cPanel File Manager.
1. Log into the customer (cPanel) portal at https://[[IP Address]]:2083, Replacing [[IP Address]] with the IP address for your server provided in your welcome email.
2. You will then be logged into the customer (cPanel) portal for the account you wish to upload the files for.
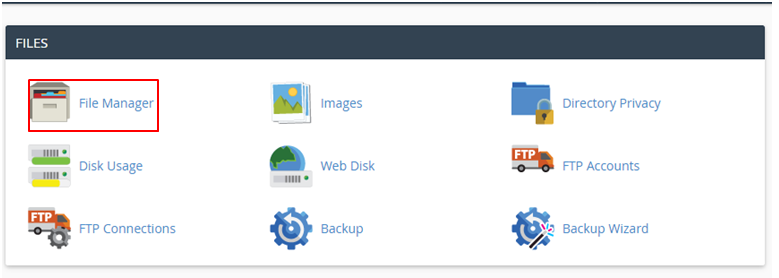
3. In the Files section click on the File Manager icon.
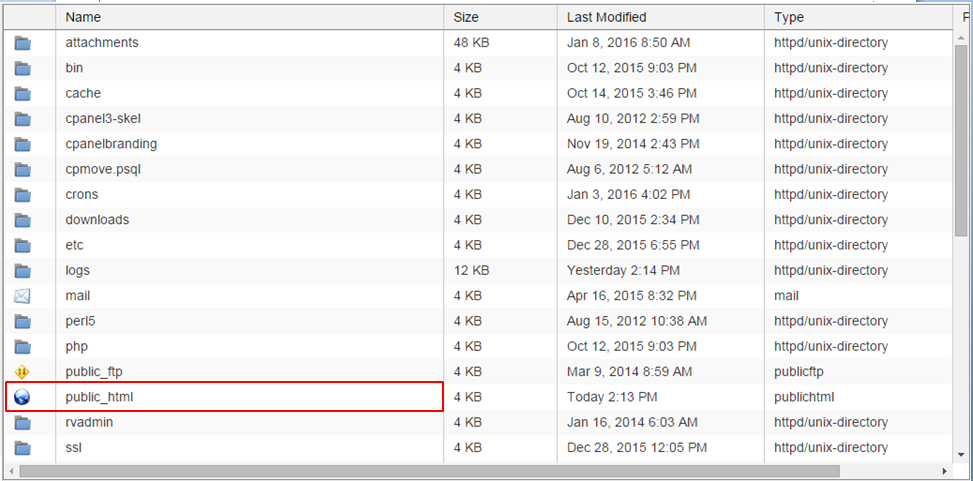
4. Select the Web Root (public_html/www) option and press the Go button.
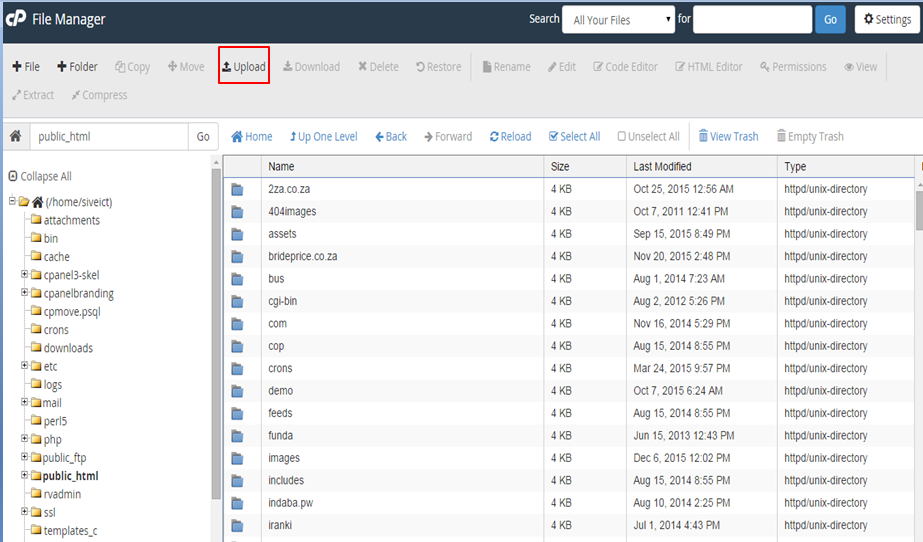
5. You will now see the File Manager screen.
6. Click on the Upload icon.
7. Press the select button to select the file you wish to upload.
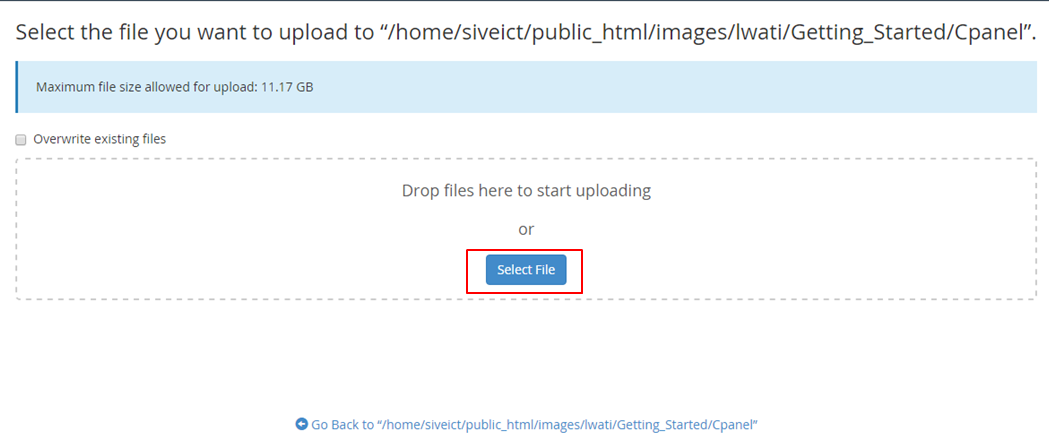
8. Navigate to the file you wish to upload and press the Open button.

9. You will then see a status for the file upload.
10. When the upload is complete click on the link Back to /home/customer/public_html.
11. You will now see your uploaded file in your File Manager screen.
Then repeat steps 6 to11 until you have uploaded all the required files.
That's all.
