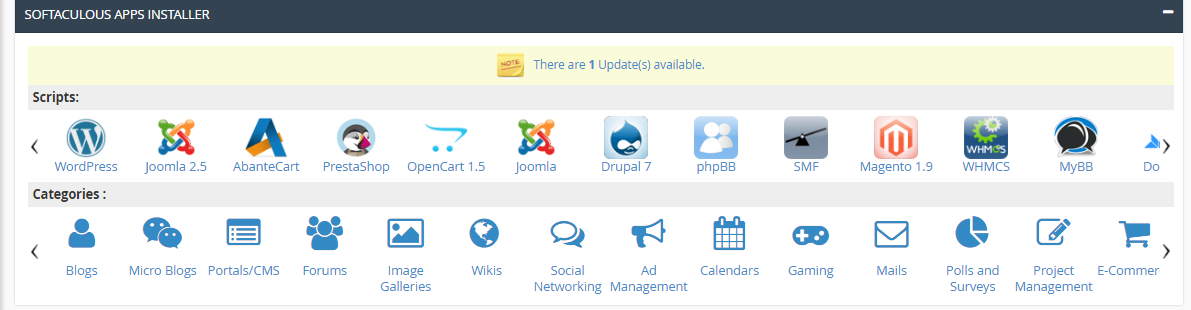
Step 2. Go to Software / Services. Click the Softaculous icon.
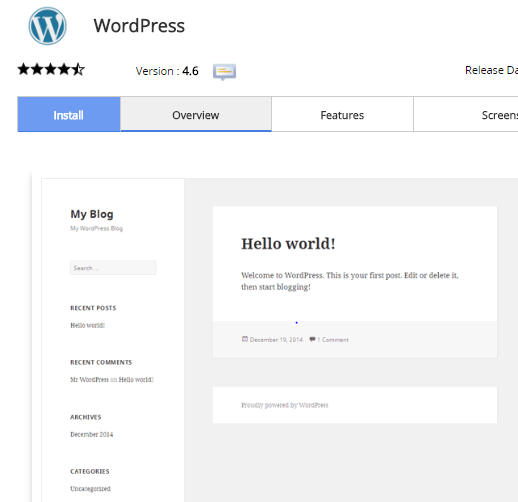
Step 3. Click the Install link on the WordPress install section.
Step 4. Fill in the WordPress set up information. The following is the necessary information you need to fill in.
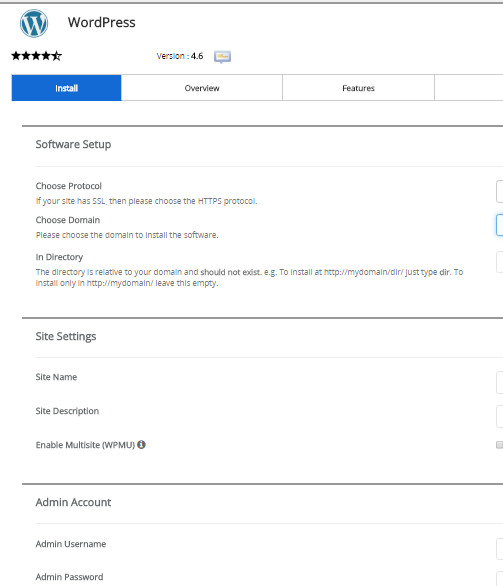
|
Software Setup
| |
|---|---|
| Choose Domain | Select the Domain you want to install your WordPress on from the drop box. |
| In Directory | Leave this blank to install on the domain directly. If you are installing in a subfolder of your site you type the folder name here. This will make the blog load like the following: example.com/foldername. |
| Admin Username | Enter a username for your WordPress Dashboard login. |
| Admin Password | Enter whatever password you want for the Dashboard Login. |
| Admin email | Enter a valid email here. The system will place an invalid email here. you will need a valid one. |
Installing to Subdomains- If you decide that you wish to install to a subodmain, then you will need to first make sure that you have correctly created the subdomain in cPanel. The main difference is that the path will appear like this: subdomain.main_domain.com instead of like thismain_domain.com/subdomain. If the Subdomain is already created, then you will be able to select the subdomain at the Choose Domain stage of the installation. If you are trying to install it to a sub-folder that is not specified as a subdomain, then the Choose domain option should remain as the domain name that you wish to use for the installation. The In Directory option will be filled with the folder that you wish to use - as per the example above.
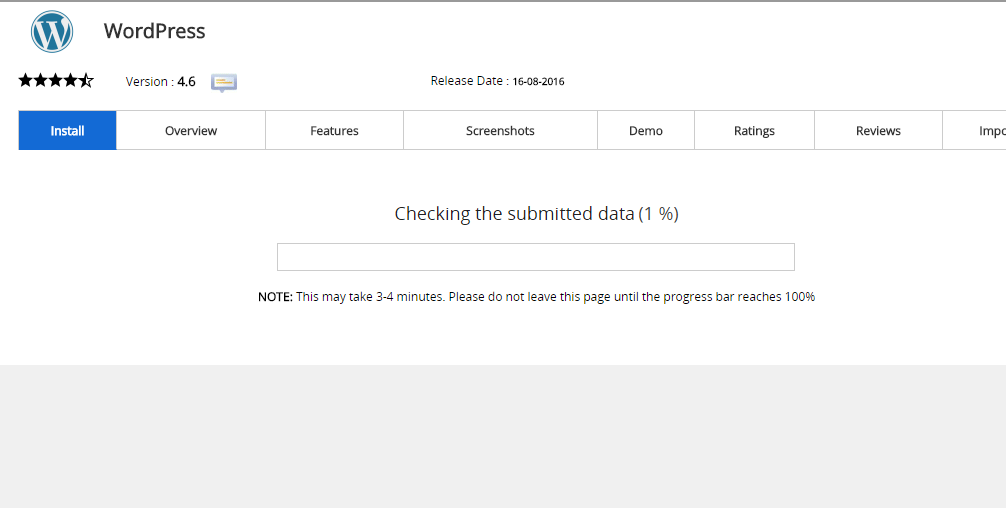
Step 5. Softaculous will Check the submitted data and install the files to your server for WordPress..
Click Return to Overview.
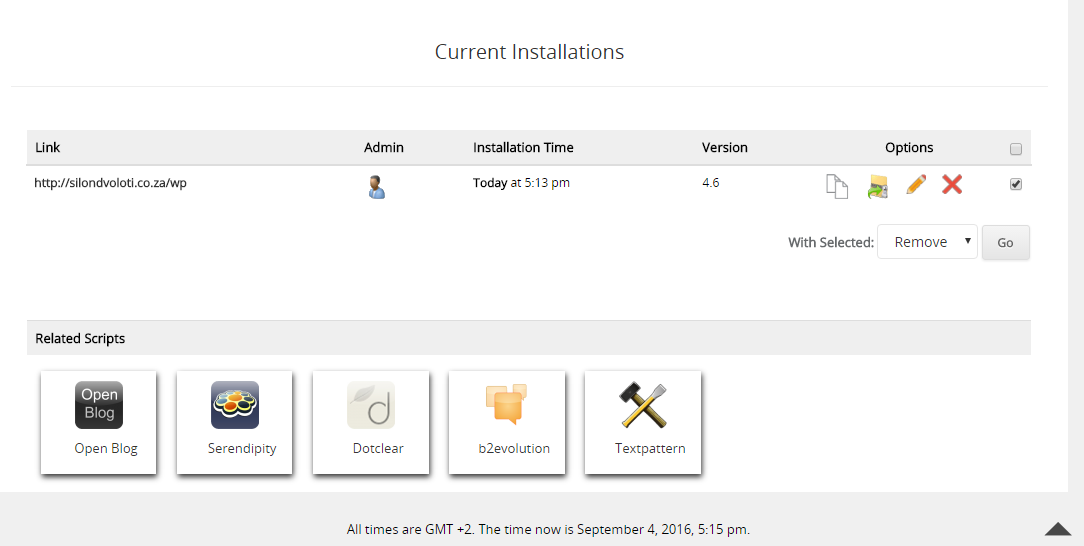
Now you will see your WordPress Installation in the Current Installations.