
Secure Shell (SSH) allows you to remotely access and manage your Ubuntu server from another computer. By default, SSH using username and password may not be enabled on a fresh Ubuntu 24.04 installation. This guide will walk you through the steps to configure and enable SSH access using password.
Step 1
Log in to your server using your username and password via noVNC Console (Find out how here)
Step 2
Run: sudo nano /etc/ssh/sshd_config
Output
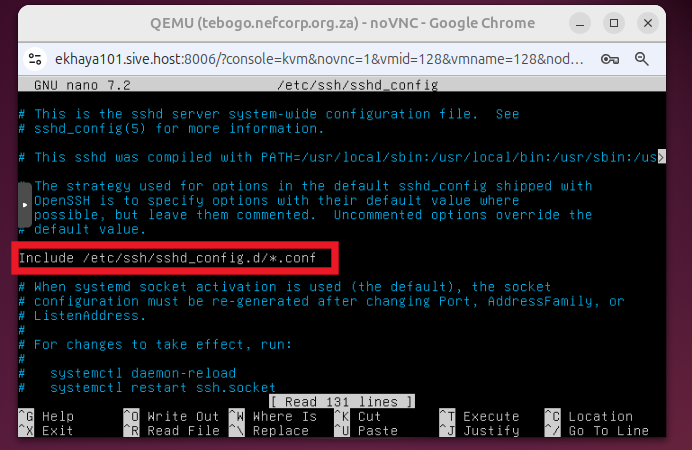
Press Ctrl + X to go back to the dialog
Step 3
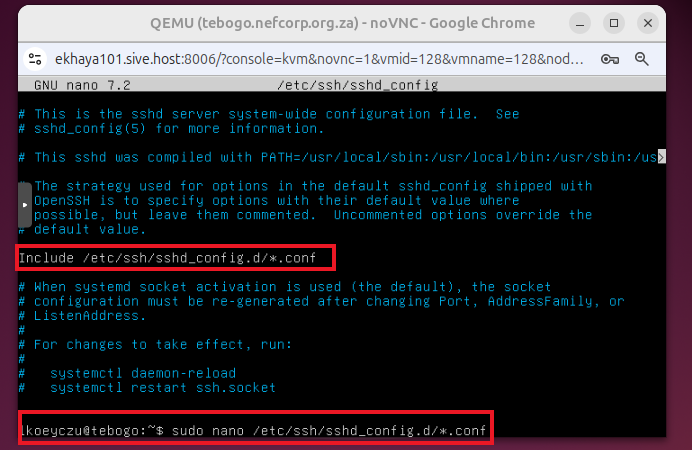
Include the command as prompted
Run: sudo nano /etc/ssh/sshd_config.d/*.conf
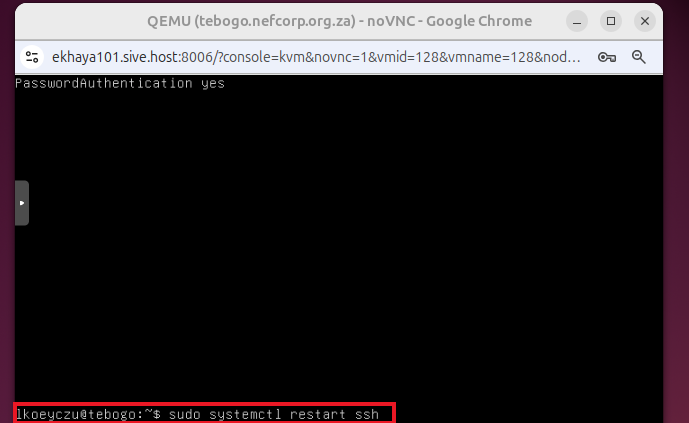
Change PasswordAuthentication no to PasswordAuthentication yes
Press Ctrl+O, then enter to save changes/WriteOut and Ctrl+X to go back to the dialog
Output
If the output screen is blank, manually type in PasswordAuthentication yes

Step 4
Restart SSH and log in via terminal.
To restart SSH, run: sudo systemctl restart ssh
Log in via terminal using command: ssh username@ip_address
